
This year, we weren't in the mood to be as vigilant and didn't think it would be fair to lock the cats away all day now that they're adult cats. But we have so many ornaments! And we still want to be festive!! What do you do when your cat has PICA and it's the holiday season???
Why, you create a 2D tree from wood, kraft paper, and chalk!! Inspired by a Style Me Pretty shoot that was circling around the blog-o-sphere, J and I decided to craft ourselves a cat proof tree!
Here's the inspiration:

(follow the source link for other out of the box x-mas tree ideas)
With the idea in mind, we headed to Home Depot. Since we didn't want to actually nail into our wall, J proposed to build a wood structure. We bought two 2x12x12 planks of wood and had them cut into thirds. They will cut them for you right at Home Depot so it was fool proof! We also bought a couple 2x4s and had those cut in halves. Here's J being manly waiting for our wood to be cut!

Yes, building is fun, ladies and gents! You heard it here first! Once we returned home, J stacked the 2x12x12s on top of each other and secured them together by screwing the 2x4s into them.

Once we leaned it up against the wall, it looked like this:

We covered the board wall with kraft paper to make a canvas of sorts.

Here's where the fun/tough part began. I sketched out my tree with a pencil. Make sure you have a big eraser handy because you will need it! I made lots of edits as I went through to make sure it looked just right. Also, at one point the tree had quite the lean going on. A little eraser magic and I was back on track! Once you've created your outline with pencil, go over it with chalk!

(The right picture is of the pencil outline. As you can see (or not) it is very light so don't fret if you don't cover all of the lines with chalk)
If you're better at drawing than I am (almost impossible not to be...) you can get fancier with your tree. It also probably won't take you as long. This is about as sophisticated as I get, and it took me about an hour or so to get it looking spiffy!

The hard part is over! Now all you have to do is add some nails, string the lights, and choose your ornaments!

Voila!
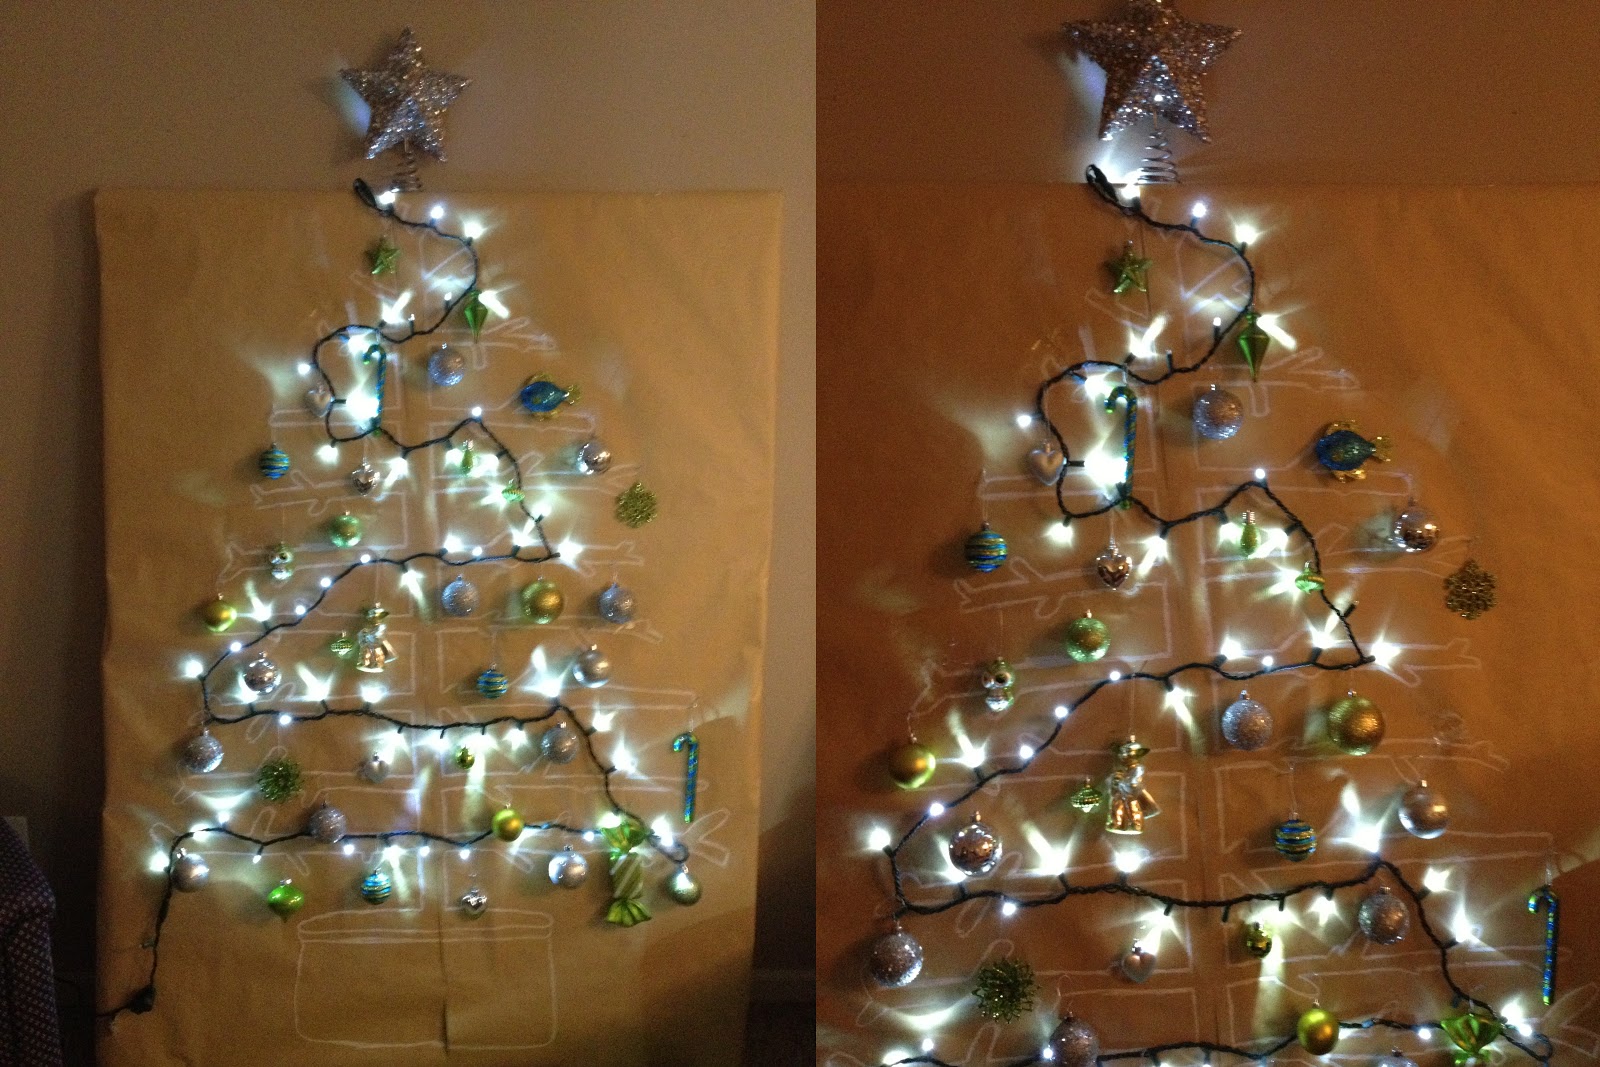
2D Tree! It's honestly so cool in person and I'm super pleased with how it turned out! I think I may even like it more than our real (fake) tree! I went with a silver/gold/green color scheme to go with the kraft paper. I'm impressed that we were able to make this on our own and I think it came out better than the inspiration picture! I apologize for the poor iphone pictures but I didn't have time (read: didn't feel like it) to take real pictures.
Best part? Ollie can't eat it and die. Everyone wins!

We were still able to put down our tree skirt and put gifts "under" the tree! I think this was the perfect solution!
Check back later this week for tips on decorating for Hanukkah (since I am a Jewish girl after all!)
<3
No comments:
Post a Comment